This is an old revision of the document!
Table of Contents
Question: How can I replace or repair a board in an Airlite?
Answer: Link: please read the info at this link
Opening and repairing of the unit is at own risk!
Be carefull when opening the unit!
Jumper settings can be made without warranty expiration!
Opening and applying repairs or modifications to the unit will expire the warranty!
Be sure that the unit is disconnected from the power source!
Never bypass or replace the fuse with a higher value fuse!
What tools do I need to work on an Airmate
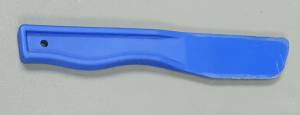
A plastic tool (spatula / spoon) to lift the potentiometer knobs.
The plastic prevents scratching the front.
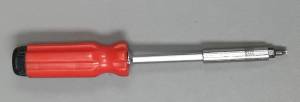
A Torx 10 (*) screw driver.
For older units we used cross slot screws (+) Philips 1 and Pozidriv 1.
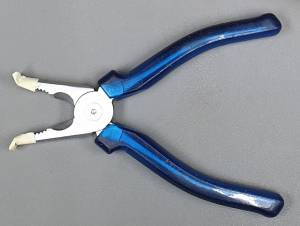
To remove potentiometer nuts a combination pliers with the edges taped in a few layers of painting tape to prevent for scratching.
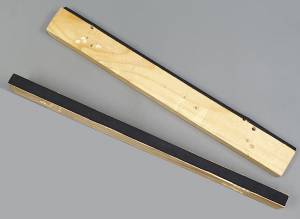
Wooden beams to create a distance when the mixer is placed upside down.
To prevent for scratching you can add foam or cloth.
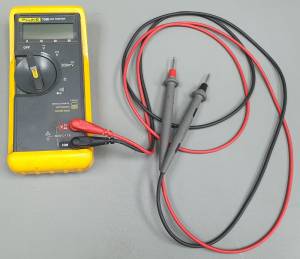
A multimeter and some skills to use it.
How to open an Airlite in the right order
To open an Airlite follow the next steps carefully.
Be sure that the unit is unplugged from the power source!
Specific schematics for your Airlite version can be send on request with Serial and version number.
If you have questions, please consult the factory by filling in our Support Request form.
Support Request
Go back to the Airlite support page.
